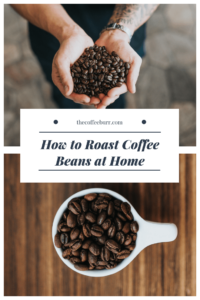
If there’s anything better than drinking a great coffee, it’s drinking a great cup of coffee that you’ve roasted yourself. I know there are plenty people who would want to roast their own coffee if only they knew how.
The best roasters are big, industrial machines that have no place in anyone’s home. However, there are home-based alternatives that do a more than good enough a job. There are home roasting fanatics the world ever, and it’s time that we got in on the action too.
So if you’re feeling like home-roasting, or if you are feeling even just a little bit curious about it, I can guide you through the simple tools and everything you need to know. Let’s go!
Why home roast coffee beans?
A good question, eh? Why do you need to roast yourself if there are so many coffee shops that offer beans?
In practical terms, that’s a hard question to answer. However, for the coffee romantic in me the answer is easy: Because it’s fun. In fact, of all the stages involved in sourcing beans to brewing your final cup, it might be my favourite.
If I am being more serious I’d say a roasting your own is the best way to participate in every step of the coffee process, and it’s a good opportunity to get a really unique experience that offers you insight into what the ideal brew should be.
When you roast your own coffee you can create the exact flavour that matches to own preferences, and each and every time you would brew the better quality and more consistent cup of coffee.
How to roast coffee at home
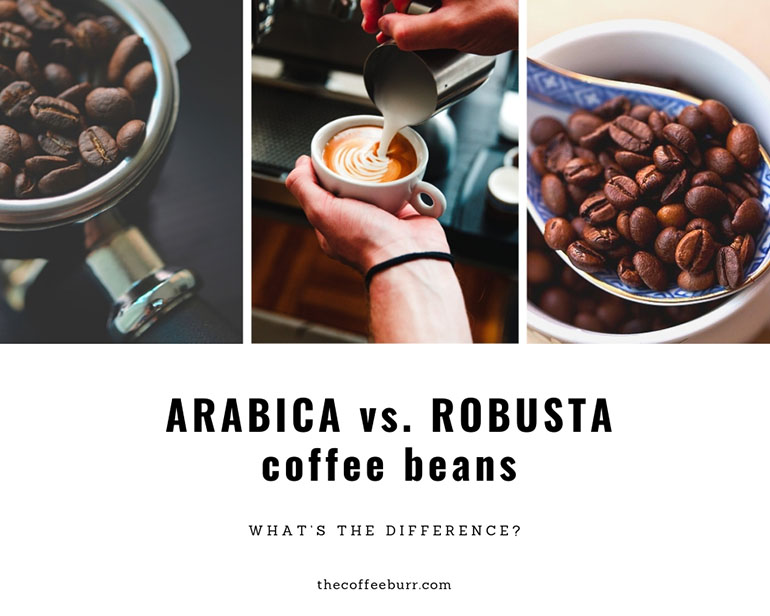
We have touched on roasting chemicals and roasting levels in a previous articles. I would just remind you when heated up the green beans will lose their moisture, turn brown, and expand in size.
Here’s several characteristics of the beans that you need to keep in mind when you are roasting them.
- Smell. From a grassy smell slowly but surely beans start to smell like a real coffee.
- Color. Your green beans will go through a whole array of color: the darker the bean, the more bitter the flavour. The longer the length of your roast, the darker color of the beans.
- Sound. When the temperature and time raised enough two crackling sounds occur: called first and second cracking.
Home roast methods
The quality of your roasts may be variable, whatever method you choose to use to home-roast your beans. You have a few different options here.
#1. Roasting in a pan
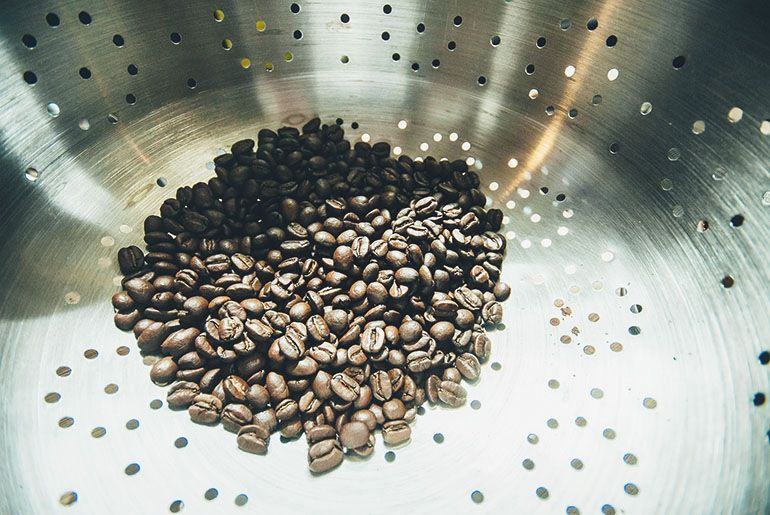
The result? May be lots of burnt coffee. Make sure you stir constantly, there are much more chances that your beans would burnt in a skinny pan. Also don’t forget to check out if the pan is clean or else your beans may pick up the flavor of whatever was cooked before them. When the beans have reached the color you want, immediately cool them down. A metal colander works great. If you don’t have one, jungle your beans in between two sheet pans, just keep it moving. You want to get them into a room temperature as soon as possible.
#2. Roasting in an oven
It will allow you to roast your own beans, although the lack of airflow may lead to an uneven roast. You are going to need a baking sheet with small holes and a tray that will keep all of the beans in the pan. Lie beans onto the sheet, but don’t layer them up. Roast the beans for 15 to 20 minutes at 450F (232C), stir every few minutes. When they are roasted to your satisfaction, immediately remove them from the oven and cool them down. Use a metal colander for it. I am pretty sure it can be found at any kitchen and you have one.
#3. Roasting in a popcorn popper
It super fun and easily accessible way to roast you own green beans. And it’s extremely efficient roasting option, especially compare to a pan or an oven. Few pro tips here. If you put too much coffee you won’t have any motion. You want to see coffee spinning, otherwise coffee will burnt out. You can do some manual shaking. It should help to even up the roast. Before adding the green beans in the popper you may want to run a first batch – just to get vibe from it and get a better idea how a popcorn popper works. Roasting in a popcorn popper ideally best to do outside or under your stove vent hood, or next to an open window. Trust me, you’ll thank me for this. Coffee-smelling smoke is pretty intense, also chaff (the coffee beans skin) are going to fly around and get everywhere. Roasting in a popcorn popper normally takes about 5-8 minutes. It’s my favourite home-roasting method, so I’m not talking a small jump here, I will fully instruct you on this.
- Set up your roaster and start preheating
- Weigh out the green beans. It should be the same way as the manufacturer suggests for popcorn, usually around a half of the cup. But again, the ideal amount will vary, so don’t be afraid to experiment
- Pour the green beans in the popper
- Stir or shake the beans constantly. Think of it like frying food: if you don’t keep it moving, it’ll be burnt on the bottom
- Stick around – watch, listen and smell. And never leave the roaster alone, so it won’t burnt at the very least your beans or your house
- After the first crack, pay close attention. The roast can be stopped at any time at this point. Play with it and see where your preferred roast level is
- Once the roast has finished, you want to cool your beans as soon as possible. Use a metal colander or baking sheet
- Store your home-roasting beans in a metal or a glass container. Good storage will keep your beans fresh for longer.
Just a side note, normally you would want to wait few days after you roast before you brew your beans. The coffee needs to de-gas. Really fresh coffee can taste sharp. Store the coffee in a cool, dark place away from intense aromas or moisture.
#4. Using a home coffee roaster
Some people like more expensive, with a little more potential, option – a home roaster. This guys will allow you to have a full control over the temperature and the time of your roast. And also will give you more freedom to manipulate the flavour of your coffee.
For your home-roasting process at the very minimum you are going to need the following roaster starter kit: roaster (at your preference and of course a budget), green beans, scale, cooling tray, coffee bag or container and roasting log to record your experiences, good and bad.
Home roasting is a wonderful experience. It will transform your relationship with coffee. It may not taste as amazing as industrial roasting machine, but it’s really about the joy of playing with coffee. By spending just 30 bucks on a popcorn popper or using a pan that you already have at your kitchen, you can became a real coffee roaster. Give it a try! It won’t take you long to learn how to roast, it won’t take too long to improve your mistakes, I promise. Start from a small and you can then upgrade.