Even though French Presses are one of the most popular brewing mechanisms found in kitchens across the planet, a lot of people struggle to use them properly. Today I’m walking you through every single brewing variable in order to help you make the very best possible cup of French press coffee.
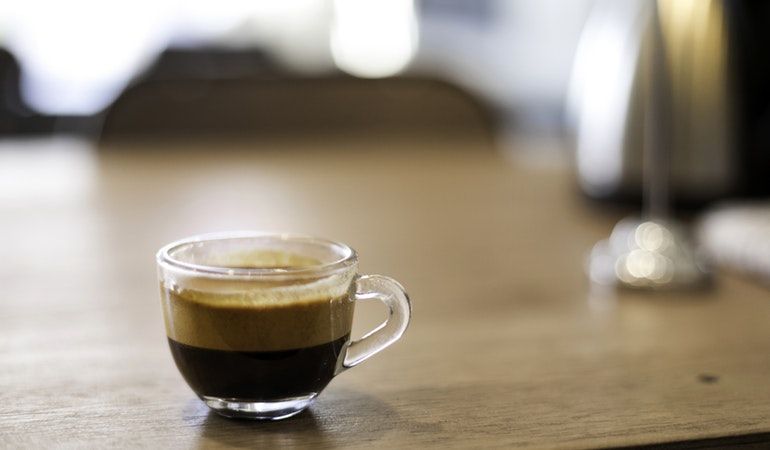
One of the best things about French press coffee is that its flavor tends to be robust and have a very full body compared to other types of coffee. One of the reasons for this is that the mechanism doesn’t have as stubborn a filter as other types of brewing method. While it does have a mesh filter housed within the plunger, it allows more passing of solubles between the coffee grounds and the water.
So if you like your coffee strong and with a rich flavour, French Press is a great option to have.
Another great thing about French press is that you have quite a good deal of control over coffee extraction in comparison to other brew methods. With a French Press if you buy whole bean coffee then obviously you get control over grind size, but more importantly, you will have control over steeping time. Both of these are very important variables in coffee strength, and you can adjust them accordingly with how you like your coffee. If you tend to like a coffee on the strong side then you can grind slightly finer, or steep it and leave it to brew for a longer period of time. On the other hand, if you’re not so keen on strong coffee then you can go the other way and use course grounds or a more limited brewing time.
How does French Press coffee work?
The structure of a French Press can be broken down into three core parts. One is the beaker, which is where the brewing takes place. This is where you house your coffee grounds and pour the water on top of it.
Usually on a French press you have the metallic base which can act like a cage for the beaker to fit inside. Attached to that you’ll find a handle. This is often made of plastic to help prevent any risks of burning your hand when you need to move the device around.
You then have the lid and plunger. These are often attached to each other, and within the plunger there’s a metallic filter to help keep your coffee solids away from the main body of water.
You will need:
A French press
Measuring cup
Measuring tablespoons
Coffee grounds
Water
Water thermometer (optional)
Stovetop kettle (optional)
Stirring spoon
#1. Measure out your coffee grounds
Like with any recipe this largely depends on how much coffee you’re brewing and how strong you like it. As a personal preference I like to use one tablespoon per cup.
#2. Measure out your water
This is a pretty simple one as the amount of water you need will be directly equivalent to the number of cups you want to yield. Also a lot of brewers actually have markings the help guide you.
Use the kettle to heat your water. Once it has boiled allow it to rest for 1 or 2 minutes or until it is lowered to 195 degrees Fahrenheit, or 90 degrees Celsius. It’s important for your water not to be too hot otherwise its agitation rate will be too high and your coffee will risk being too bitter.
When your water has boiled add a little bit of it to the French press before adding any coffee. This will help warm up the brewer, helping lead to a smoother extraction.
#3. Add the coffee and water
Now the fun part. Add the coffee grounds and shake the press slightly to help even out the bed.
Before pouring on all the water we want to do something called blooming. This is a really important stage where we pre-wet the grounds to allow the CO2 to start escaping, thus helping the coffee solubles extract better and allow our subsequently added water to flow more freely through the grounds.
To bloom the grounds, pour over just enough water to cover the bed of grounds. Leave them to bloom for 30 seconds, giving the CO2 enough time to escape.
Once you have bloomed the coffee bed then you can start to add the remainder of your water. Do this slowly and in a circular motion. Once you have added your full amount of water, use a spoon to stir the grounds. Just stir 3-4 times.
#4. Let the coffee steep
Place the lid (with plunger attached) of your french press back on to the device. And leave it to steep for 4 minutes. Don’t push down the plunger just yet.
#5. Push the plunger down
After your 4 minutes is up, very slowly start to push the plunger down. Pay attention to how much resistance you’re met with here: Too much and your grounds are too fine; too little and they are too coarse. Of course, you won’t be able to do much about it now that you have added your water, but something to pay attention to next time.
Leave the coffee for an extra minute just to allow it decant and extract a little more flavor. Don’t go over this however, as your coffee will soon cross the line into bitter territory if it brews for too long.
Serve up and enjoy. Just remember to clean your French press afterwards.
Here are some quick tips to help ensure that you get the most out of your french press coffee.
The (sort of) importance of ratios
While getting your coffee-to-water ratio right is key for every brewing type, one of the best things about French Press is the flexibility it gives you to adapt to your own personal preferences.
Some people might tell you that there’s a precise and specific ratio hit, but the truth is a bit more vague with this brewing method.
The varieties in your favourite coffee beans, roast type, and strength, mean that the resulting cup from your French Press can be different each time.
As a rough guide, try to use one heaped tablespoon of ground coffee per cup of coffee. If you find that this is too strong or weak then adjust accordingly next time.
Getting the grind right
French Press is one of the coarsest grind sizes that you will find among coffee brewing types. Ideally the grind you want to achieve is coarse to medium-coarse.
All of this sounds simple enough, but frustratingly you’ll find that a lot of pre-ground coffee found in stores is medium or fine. If you opt for this then your coffee is likely to be bitter and overly strong, and you’ll even be at risk of having grounds finding their way through the plunger filter and ending up in your cup.
Definitely don’t go the other way however, as anything too coarse will be weak. This is even worse.
If you’re buying pre-ground then opt for coarse grounds. Or if you’re grinding them at home with an electric burr grinder then choose a coarse setting on your grinder.
Brewing time
All brewing methods require varying lengths of brewing time, and for an immersion method like French Press it’s key to allow several minutes for the coffee solubles to extract properly.
The 4 minutes I’ve outlined above are seen as the optimal length of time to brew for, allowing the water and grounds to combine well enough to give you a high quality extraction.
If you do however find that your coffee is too strong, then next time reduce the time to 3 minutes.
Scales are your friend
Consistency is key to not just replicating your brewing successes, but also to help compare your brews fairly. While you can eyeball it using a heaped tablespoon as I mentioned above, if you do want to get very specific then use a set of scales to monitor your coffee and water amounts precisely.
Quality water
Not all water is created equal, and that’s certainly the case for where I live in England, where northern water is much softer and healthier than the harder water in London.
I recommend investing in a water filter to keep your water as clean and high quality as possible. Also ensure to descale your kettle or water heater monthly to reduce the influence of limescale in your coffee.
Don’t burn your coffee
Using boiling water can over-extract your coffee, as well as risk burning it. Optimum coffee brewing temperature is 195 degrees fahrenheit
Don’t forget to bloom
The blooming stage I mentioned earlier might be easy to dismiss but it plays such a crucial role in extracting your coffee perfectly, and allowing the CO2 embedded in the coffee to release. Doing so will really take the flavor of your coffee to the next level.
Pace your plunging
Don’t be too eager with your plunging. Be sure to plunge it down slowly to help make your grounds steep thoroughly, and help reduce the risk of grounds ending up in your cup.