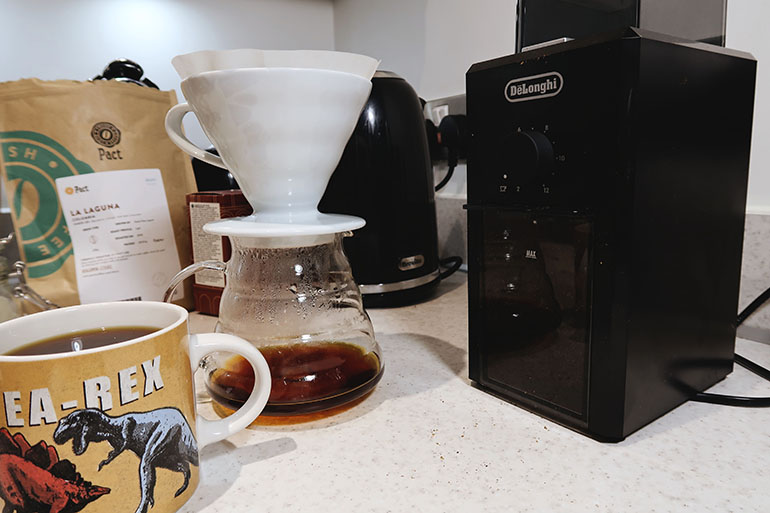
For all of us coffee lovers, grinding coffee in the morning is the best way to get the freshest cup of java possible.
But for people wanting to expand beyond using instant or pre-ground coffee, the lack of a grinder can be a real obstacle. Sometimes price can be a barrier, or sometimes it can be simply somewhere to source one from. Or perhaps you’re just facing a grinding emergency.
Either way, this is my guide to grinding coffee without a grinder.
There are actually a few possible approaches to this, so I’ve tried my best to lay that out as clearly and distinctly as possible. What I do need to stress though is that none of these methods will reproduce the standard of results you’d get from a good burr grinder, so do try to make the investment as soon as you can.
Also, none of these methods will give you anything finer than a medium-coarse grind, so if you like your coffee grounds strong then the only way you’ll be able to achieve that is with an actual grinder.
Anyway, here we go.
Method 1: In a blender
Start by measuring out the amount of beans that you want to use onto either your kitchen surface or, if you want to be a bit more hygienic, onto a wooden chopping board or strip of kitchen towel.
Split this measurement into four equal parts. Put one quarter in your blender pitcher and pulse for about 10 seconds at a low setting. Repeat for the remaining quarters of your beans until you have achieved a medium-coarse consistency.
A few things to be mindful of: Ensure you keep to one or two second pulses. The reason for this is that coffee beans can be prone to overheating in blade grinders or blenders, so pulsing them rather than blending at a consistent level will help stop the beans from burning or degassing early.
Also be sure to wash out your blender pitcher and blades immediately afterwards to remove any leftover coffee grounds or aromas.
Method 2: In a food processor
This might seem quite similar to using a blender, but because food processors can handle tougher ingredients they’re better at grinding for longer without causing heat issues. Some models might also be able to grind the coffee beans slightly finer than a blender.
Measure out the amount of coffee you need and place in your food processor. Pulse for five-second pulses until you reach a medium consistency.
Just like with a blender, it will give you a slightly uneven grind. Also be sure to wash your food processor as thoroughly as possible right after use.
Method 3: Immersion blender
If you thought blenders and food processors were unorthodox in approach, then wait to see the immersion blender.
Measure out the beans you need and pour into a tall and narrow container (to be honest, finding this might be even more challenging than finding a burr grinder). Place the immersion blender in the container and try to cover the top of with your hand. This will help prevent the beans from flying out the top.
Blend for between 20 and 30 seconds. If the beans still need more grinding then try to do in 5 second spurts until you’ve achieved the consistency you want.
Just like with your blender and food processor, wash immediately after use to get rid of any aromas, fragments or oils.
Method 4: Pestle and mortar
This might seem like crude use of something that is traditionally used for herbs and garlic, but this does work.
Measure out one spoonful of beans out at most and place in the mortar. In one hand, use the pestle to smoothly crush the beans, while using the other hand to cover the top as best as possible in order to reduce the amount of beans or fragments flying out.
Vary your direction of approach every few seconds in order to achieve as consistent a grind as possible. Stop once you have achieved your desired consistency.
Given the small amount of room you have to work with in the mortar it’s important to only attempt to crush a little bit at a time. You can then do further rounds of crushing until you have the amount you need. If you overload it then you won’t achieve anything close to an acceptable consistency.
While this method does help prevent overheating, it’s obviously much more labour-intensive, and its results can be fairly mixed. However with a bit of work, it is possible to achieve a fairly fine grind.
Method 5: Blade cracking
This approach should be familiar to anyone who’s cracked peppercorns with a knife before. It’s one of the least reliable, and potentially most frustrating, methods on this list.
Measure out the beans you need and place them on a wooden chopping board. Place the blade of a large knife on top of the beans sideways. With the open palm of your other hands, push the blade down on top of the beans, applying pressure until they crack. Once cracked, rearrange the beans and repeat the process until you achieve your desired consistency.
In theory this should help you achieve a medium grind, but it is quite tough work and it’s not unusual to find very inconsistent grind sizes throughout.
Method 6: A rolling pin
This isn’t too dissimilar to using a knife, but should give you a much more reliable consistency of grind.
Measure out your beans and put them in a sealed plastic Ziploc/freezer bag (or between two sheets of baking/parchment paper, but this will be a bit messier). Once the bag is sealed, place on a wooden chopping board. Try to spread out the lay of the beans as much as the bag allows you to.
Your action with the rolling pin will come in two stages here. The first will be to hammer the rolling pin down on them to make the initial crack on the beans. Then slowly but firmly use the roller to roll against the surface of the cracked beans to apply pressure and grind them down further.
If done right this should help you achieve a medium/medium-fine grind.
Method 7: A hammer
OK, OK. This might seem a bit extreme but it does work, just as long as you’re happy with a medium-coarse particle size. Just like with our rolling pin method, measure out your coffee into either a freezer bag or between sheets of baking/parchment paper.
Lay the bag between two kitchen towels and place on a wooden chopping board.
Hammer the beans with moderate force in order to crush them. Keep hammering until you have a medium-coarse consistency.
Target grind size.
Each of these different methods can achieve a different level of grind, and it’s important to know which consistency you should be aiming for in order to best suit your chosen brewing method.
Coarse grounds as best achieved with either a blender or food process are ideal for:
- Cold brew
- Vacuum coffee makers
- French press
Medium grounds are the ones we’ve seen done with a hammer, rolling pin or knife (personally I’d go for rolling pin) and can help you brew:
- V60 pour over
- Chemex pour over
- French press (if you like it a bit stronger)
Fine grounds are for particularly strong brews and we can achieve with a mortar, albeit at relatively low volume. This is good for:
- Espresso
- Turkish coffee (aim for super fine)
For a full guide to grinding coffee at home (with an actual grinder) then check out my guide here.